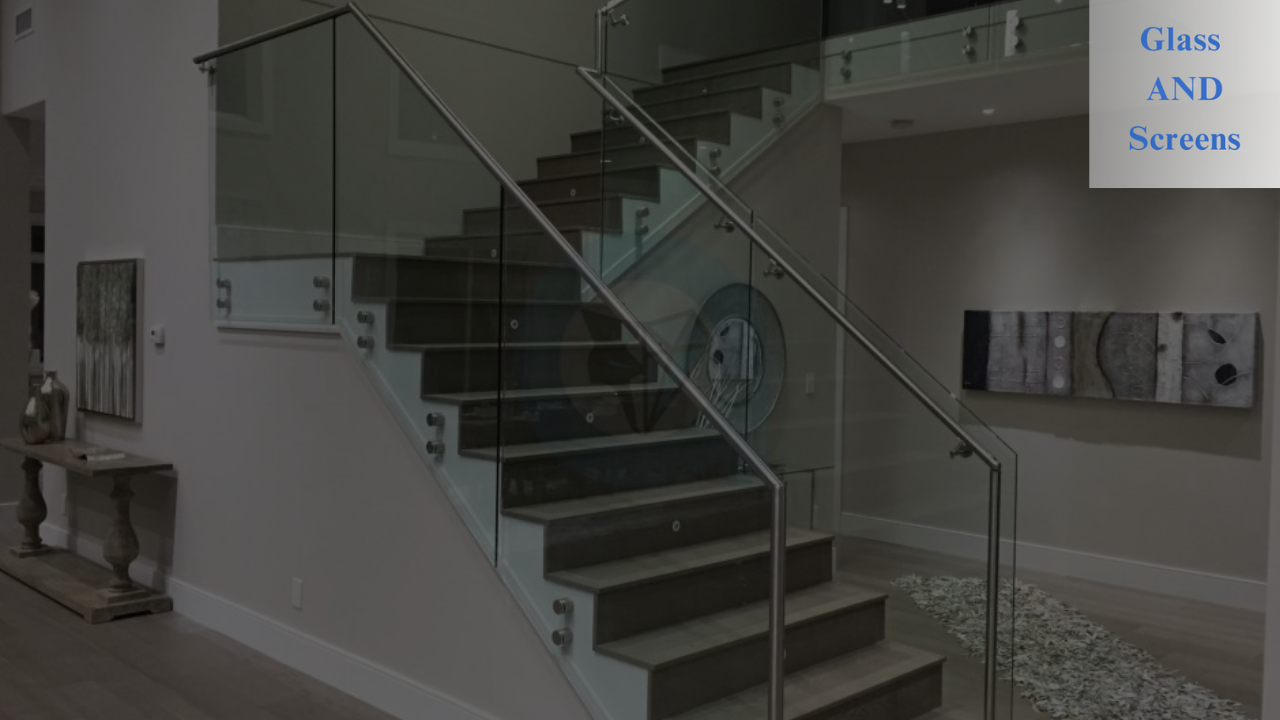
The installation of glass railings makes your space appear elegant and modern. Glass railings can be found in decks, balconies, and stairs. They look great and allow you to see, which will make the space appear larger and brighter. This tutorial will help you learn the step-by-step procedure for installing glass railings in an easy-to-adhere-to manner.
Step 1: Collect your materials
Before starting to make your plans, it’s essential to gather all of the tools and materials. Best Glass Railing Installation in Lemon Grove and railing posts, as well as brackets, screws, drills, a screwdriver measuring tape, and protection gear, such as the gloves you wear and glasses for safety. It is essential to have all the necessary equipment prepared so that you don’t need to stop midway through the project to locate something.
Step 2: Determine the area.
The next step is to determine the space where you plan to put those glass railings. Use a tape measurer to measure the length and width of the area. Record these measurements so that you can cut your glass posts and panels according to their dimensions. Accurate measurements are crucial to ensure that all pieces fit properly.
-
make up the Posts
The posts hold the glass panels together. They must be sturdy and secured. The first step is to mark the location of each post. Distance between the posts will depend on the dimensions of the glass panels. Most often, the posts are set a couple of feet away. After you’ve marked the areas, make holes for screws and secure the posts on the wall or floor.
Step 4: Attach the Brackets
Brackets secure the glass panels in the right place. The brackets are attached to the post with screws. Check that they’re the proper height and aligned to one another. Use a spirit measure to confirm the level. It’s crucial to warrant that the brackets are secured since they’ll secure the heavy glass panels.
Step 5: Put the Glass Panels
It’s now time to put the glass panels in the brackets. It may take two persons because glass panels are cumbersome and fragile. Take the Deep Glass Railing Installation in Lemon Grove gently and place it in the brackets. Check that the glass is aligned and straight. After the panel has been put fixed, then, tighten the screws around the brackets so that they hold the glass tightly.
Step 6: Attach the Glass Panels
When you have placed the glass panels on top, it is essential to ensure they’re secured. Make sure that the screws are secure and that the panels aren’t moving. If you feel that the glass is loose, then tighten the screws a little. Security is paramount, so make sure you double-check everything.
Step 7: Finish. Adds a few final touches
The last step is to make any final touches to the Glass Railing Installation in Lemon Grove. It could be as simple as adding an upper rail. A top rail is a rail that extends along the top of your glass panel. Top rails can impart additional support and provide an area to secure. Ensuring it’s connected to the posts and the glass panels is essential.
Step 8: Wash Up
After everything is installed and in place, you need to tidy the area. Remove any equipment and other objects from the place. Please use a glass cleaner and remove the panels until they appear clean and shiny. Remove any debris or dust left by drilling and putting in.
Step 9: Examine Your Job
When you’re done, examine your work to ensure you’ve done it correctly. Make sure that the posts, brackets, and screws are securely fastened. Be sure that your glass panels are straight and clear. If there are any concerns, take action to fix them immediately to ensure that your glass railings are secure and durable.
Step 10: Enjoy Your New Glass Railings
Congratulations! You’ve completed the installation of the glass railings. You can now take advantage of their contemporary look and view. Whether placed on a deck, balcony, or stairs, glass railings can transform your home into something beautiful and classy.
Following these tips, you can set up Extreme Glass Railing Installation in Lemon Grove on your own and avoid the expense of employing the services of a skilled professional. Be sure to be patient, take your time, weigh attentively, and assure that the railings are secure. It is crucial to be safe. Don’t be rushed, and ensure that you check your tasks. Enjoy your new, stylish glass railings!